How to Do a Pet Photoshoot at Home for a Portrait
The single biggest factor in pet portrait quality is the source photo. A great photo produces a great portrait; a mediocre photo produces a mediocre one. The good news: you do not need professional gear, a studio, or a trained photographer. A phone, a window, and ten minutes of intentional setup will produce a source photo dramatically better than ninety percent of what most pet owners upload. This guide walks through the five-step home photoshoot.
By PhotoCardMagic Editorial Team · Last updated
At a glance
- Time
- ~5 minutes
- Steps
- 5 steps
- You'll need
- 4 items
- Skill level
- Beginner-friendly
- Cost to try
- Free · no signup
Before you start
- ✓ A smartphone with a camera
- ✓ A pet (treats and toys recommended)
- ✓ Natural light — a window, a porch, or shaded outdoor area
- ✓ About ten minutes
Expected outcome: A sharp, well-lit, eye-level pet photo ready to upload to PhotoCardMagic for a portrait — the kind of source the AI can render into gallery-quality art.
Steps
-
1
Pick the right time and light
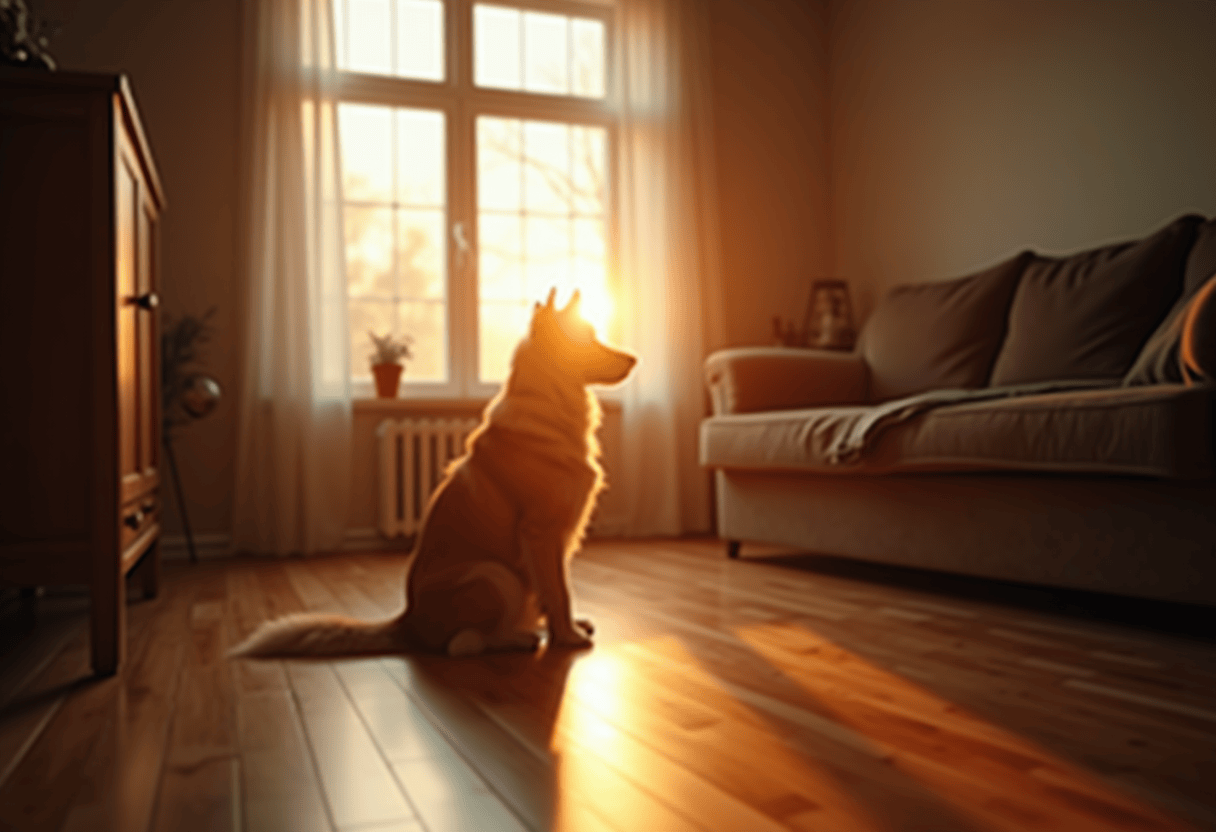
Natural light is non-negotiable for a great pet photo. The best windows are mid-morning (9–11 AM) and mid-afternoon (3–5 PM), when daylight is soft but bright. Outdoor shade on an overcast day is ideal. Position the pet near a large window or outside in shade — never in direct harsh sun, which produces hard shadows and squinting eyes. Avoid flash, which makes pet eyes reflect in weird colors that the AI cannot cleanly correct.
-
2
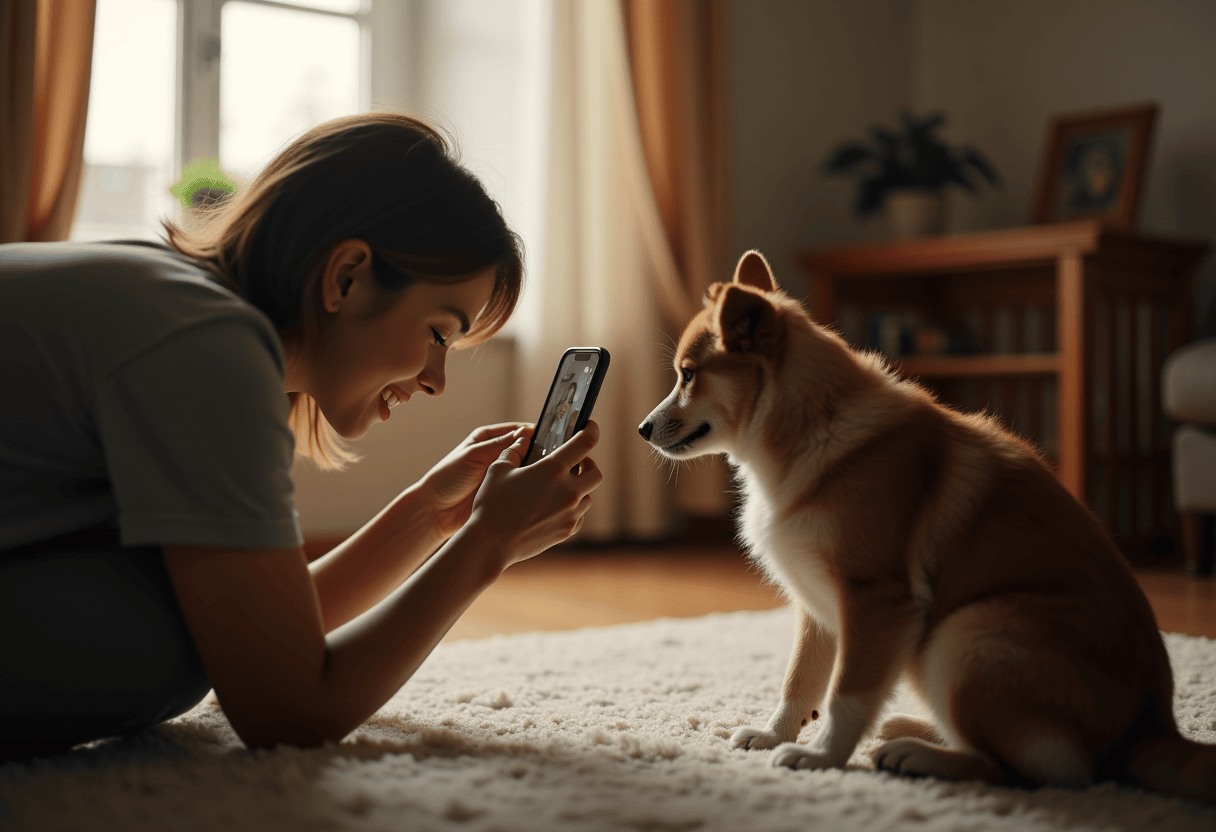
Get to eye level
The single biggest improvement most pet owners can make is shooting at the pet's eye level instead of standing height. Crouch, sit, or lie on the floor so the camera is at the same height as the pet's eyes. This works for dogs, cats, rabbits, and small mammals. Cats especially photograph dramatically better from eye level — most cat photos are taken from above, which is a great documentation angle and a weak portrait angle.
-
3
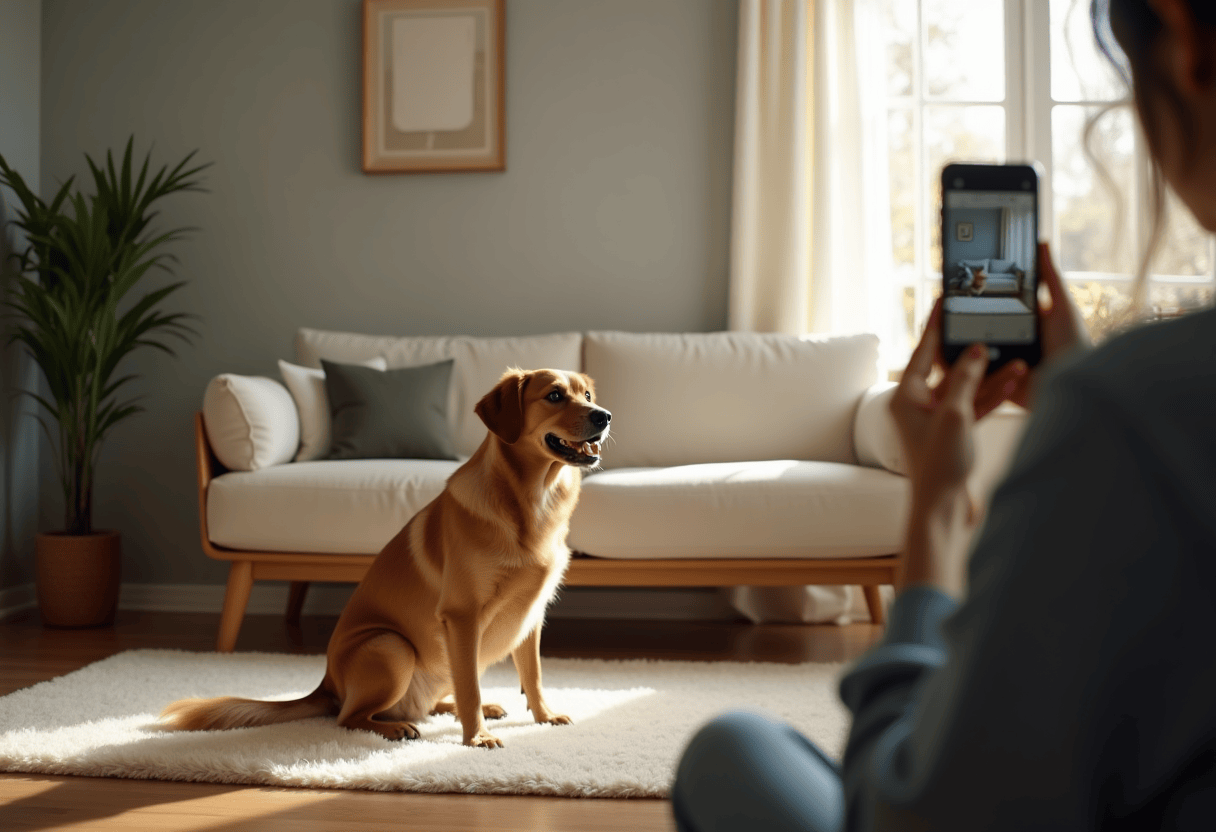
Clear the background
A simple background — a couch, a hardwood floor, a grassy yard, a clean wall — produces a cleaner final portrait than a cluttered one. The AI restyles the background anyway, but clutter in the source (toys, food bowls, other pets) confuses the composition. Move distracting objects out of frame before shooting. The pet should be the clear single subject. For multi-pet households, photograph each pet separately and order portraits as a matching set rather than cramming everyone into one image.
-
4
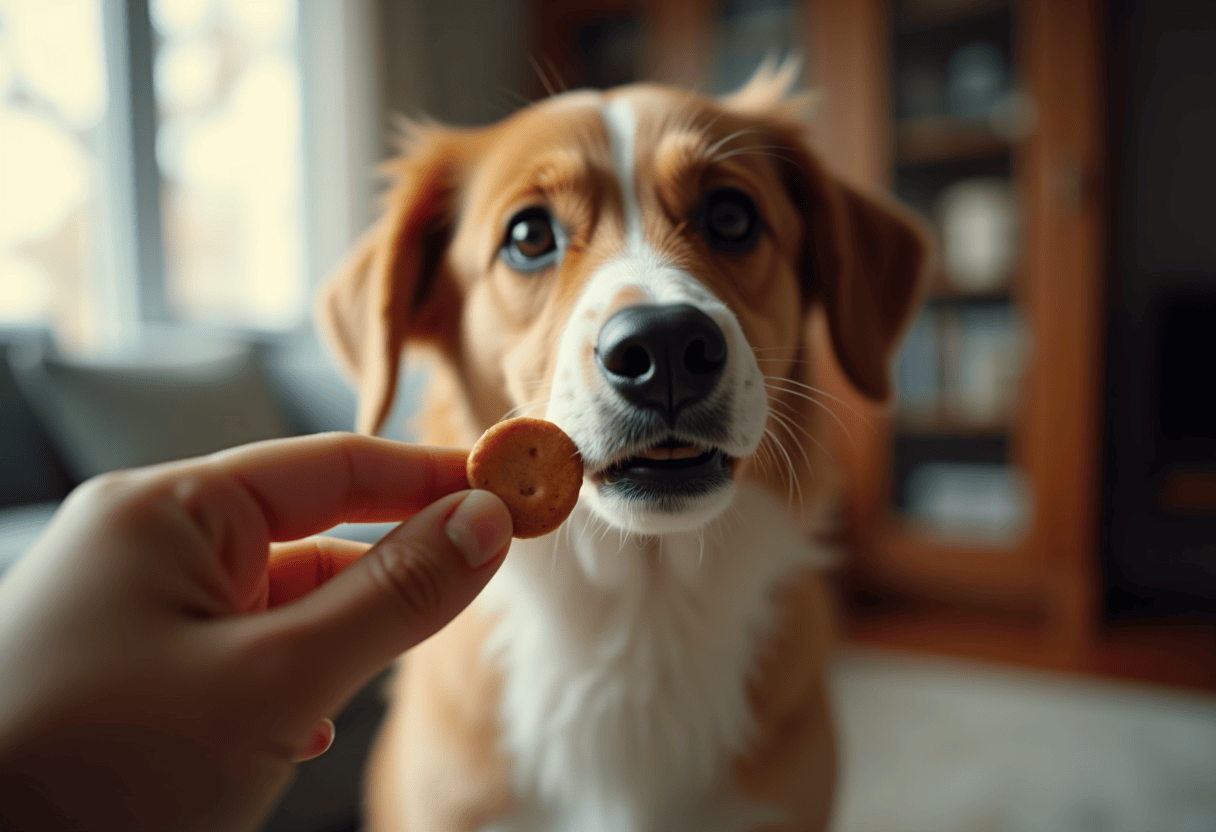
Get the eyes (use treats and noises)
A direct gaze or slight off-camera gaze anchors the portrait and produces the strongest identity preservation. To get a pet looking at the camera, hold a treat or favorite toy just above the lens. For sound-motivated pets, a squeaky toy, a kissy noise, or a high-pitched 'pup pup pup' usually produces a head tilt and direct eye contact. Take the photo within three seconds of getting the pet's attention — they lose interest fast. Use burst mode to capture ten frames and pick the sharpest.
-
5
Review and pick the strongest frame
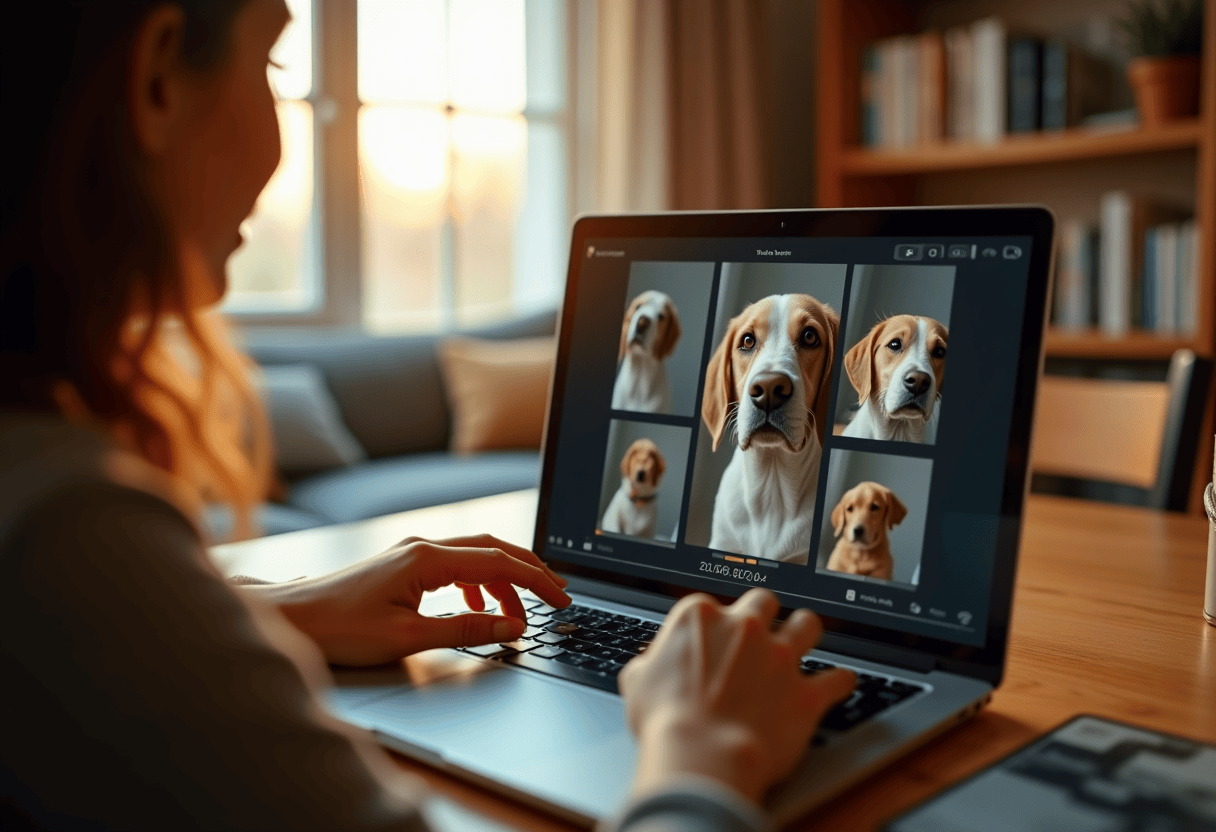
Open the camera roll and scroll through the burst. Look for: sharp focus on the eyes (zoom in to confirm), a characteristic expression rather than a generic posed look, no motion blur on the muzzle or ears, and a clean simple background. The best photo is rarely the first one — it is usually the third or seventh in a burst, when the pet has settled into the moment. Once you have the photo, upload it to PhotoCardMagic, pick a style, and the AI does the rest.
⚠ Common mistakes
- • Shooting from standing height instead of getting to eye level
- • Using direct sunlight or flash, which produces hard shadows and weird eye reflections
- • Photographing in a cluttered room with toys and other pets in frame
- • Taking only one photo instead of a burst — pets rarely give a perfect frame on the first try
- • Choosing the photo you 'like' instead of the one that's technically sharpest
Frequently asked questions
Do I need professional camera equipment for a pet portrait photo?
What's the best time of day to photograph my pet?
How do I get my pet to look at the camera?
Can I use an old photo, or do I need a new one?
What if my pet won't sit still?
“My dad doesn't cry at gifts. He cried at this one.”
Explore the styles
READY?
Start your portrait
Free preview. No signup. Ships from the US in 3–7 business days.
Preview a style freeLast updated: 2026-04-24